The Zoo is a great spot for photographing Animals, People, Architecture and more. But Zoo photography can be tricky with all the fences or glass they use for the cages. Or you have persons in the background with bright red jacket on. In this Blog-post you will find some useful tips to make better photographs and handle the difficulties you encounter in most Zoos. Let’s go to the first Tip.
Tip 1: Bring your Telephoto lens
In almost all Zoo’s it’s good to bring your Telephoto lens, something like a 55-250mm, 70-200mm, 70-300mm, 100-400mm or something similar. With lenses like this it’s much easier photographing animals that are further away. But another advantage most of the time, a telephoto is good in blowing out the background when animals are closer to you. This way you can remove the distractions and get the focus on your subject. When your lens quality permits it, shoot wide open with the biggest aperture possible. Or if you are really close, close the aperture a little bit to get enough of the animal in focus. Make sure to nail the focus on the eyes of the animal.
With some Telephoto lenses it’s these days easy to use it as the only lens you take. Newer lenses sometimes have a good close focusing distance of only 90cm while you still can use 300mm or more. This allows you to also use the lens from closer by and fill the frame more. Like with Butterflies for example. But if you want you can also take an extra different lens, like a Macro lens to focus more on the details. You also can use your standard Zoom 18-55mm, 24-105mm for the people or architecture.
Tip 2: Get close to the wires and glass
In Zoo photography a lot of animals are behind a mesh wire fence or behind glass. This can sometimes be difficult to take some great photos where the mesh of the fence or reflections in glass is not visible. Both have their own difficulties but in most situations the problem can be solved in the same way.
A first option is to put your lens/lens hood as close as possible to the fence or glass. With a fence you can move around your lens a little bit to see if you can remove as much as possible from the fence in your photo. Normally if you are close you should not see a lot of the fence. Maybe you still have some small evidence in your background from the fence. Also use an as big as possible aperture and if possible zoom in as much as possible. With 500mm f/5.6 you will see less of the fence compared to using 100mm f/8.0 for example.
With a fence also try to avoid shooting through a fence when the sun is right behind you and you cannot get close enough. In many cases the sun highlights the fence and it will be much more visible in your photo.
With glass your lens (hood) will block the reflections when you put your lens against the glass. If you are shooting down a bit or your lens can’t touch the glass fully, you can also use your hand to block out a bit more of the reflections. For Glass another option is to use a Circular Polarizing filter (CPL). A CPL will use you a bit of light because of how the filter works, so not always suitable. But when there is enough light it is an easy way to remove the reflections of the glass.
The glass used in Zoo’s is not always the same. In some cases it can have major impact on sharpness of your photo. In this case you can try to play around a bit with the angle you take the photo. Start with to shoot perpendicular as much as possible to see if it improves sharpness.
Tip 3: Take attention to your background
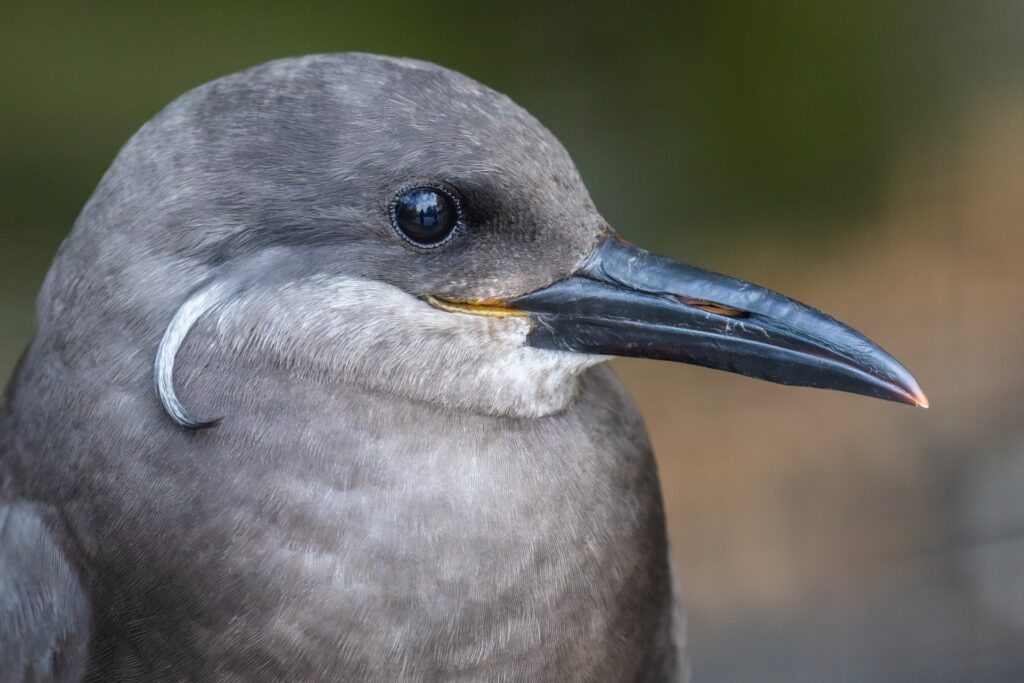
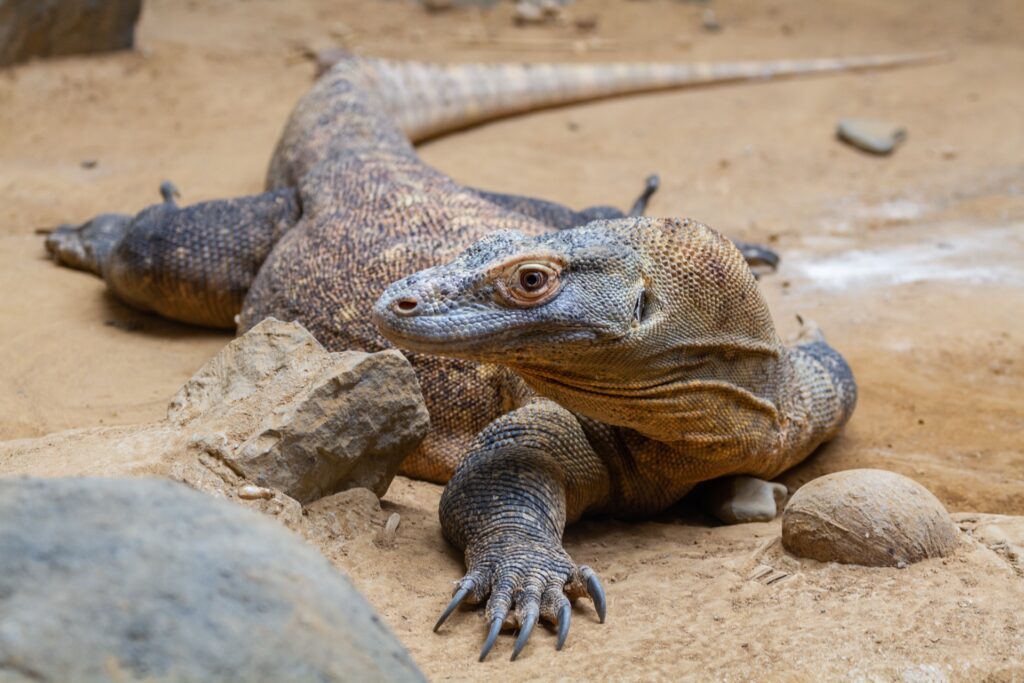
Zoo photography offers a fantastic opportunity to capture close-up images of exotic animals, but one of the key challenges is managing the background. A cluttered or artificial background such as fences, walls, or signage can break the illusion of a natural setting and distract from the subject. As a photographer, it’s crucial to pay attention to what’s behind your subject before you take the shot. Changing your angle, moving a few steps to the side, or lowering your position can dramatically alter the composition, helping you frame the animal against greenery, rocks, or water instead of concrete barriers.
To make zoo photos appear as natural as possible, use a wide aperture to create a shallow depth of field, which blurs the background and minimizes distractions. Zoom in tight on the animal to crop out man-made elements, or use objects like leaves, branches, or enclosures as natural-looking foreground framing. Timing is also key photographing during quieter times of day or when animals are near more naturalistic parts of their enclosures can help. With a bit of creativity and patience, you can produce images that feel like they were taken in the wild, even within the confines of a zoo. Although it’s not always possible to remove all distractions.
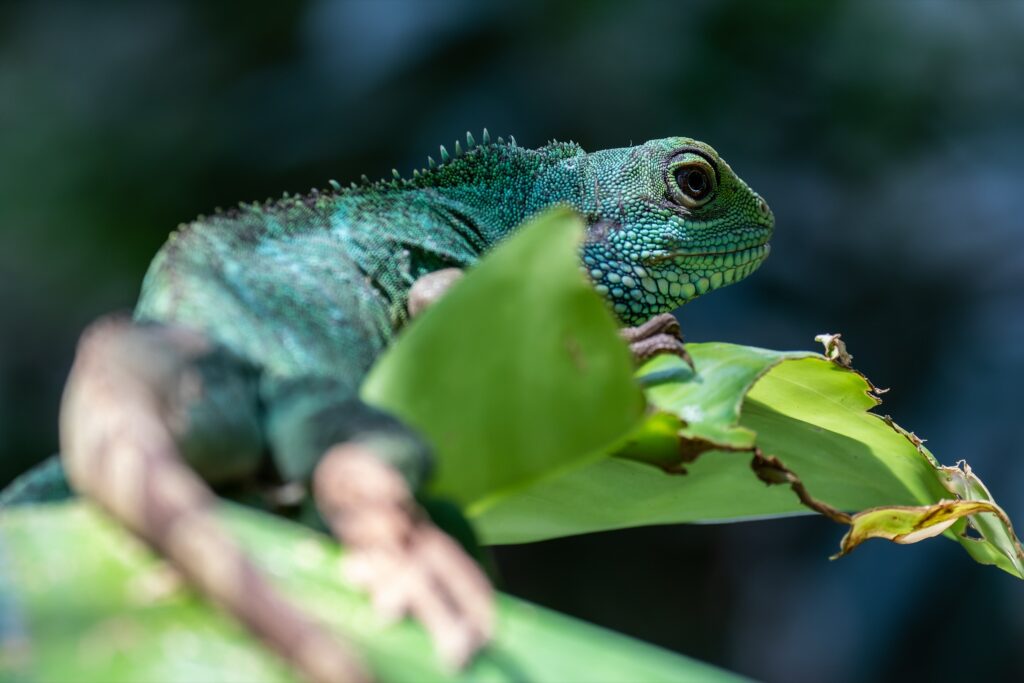
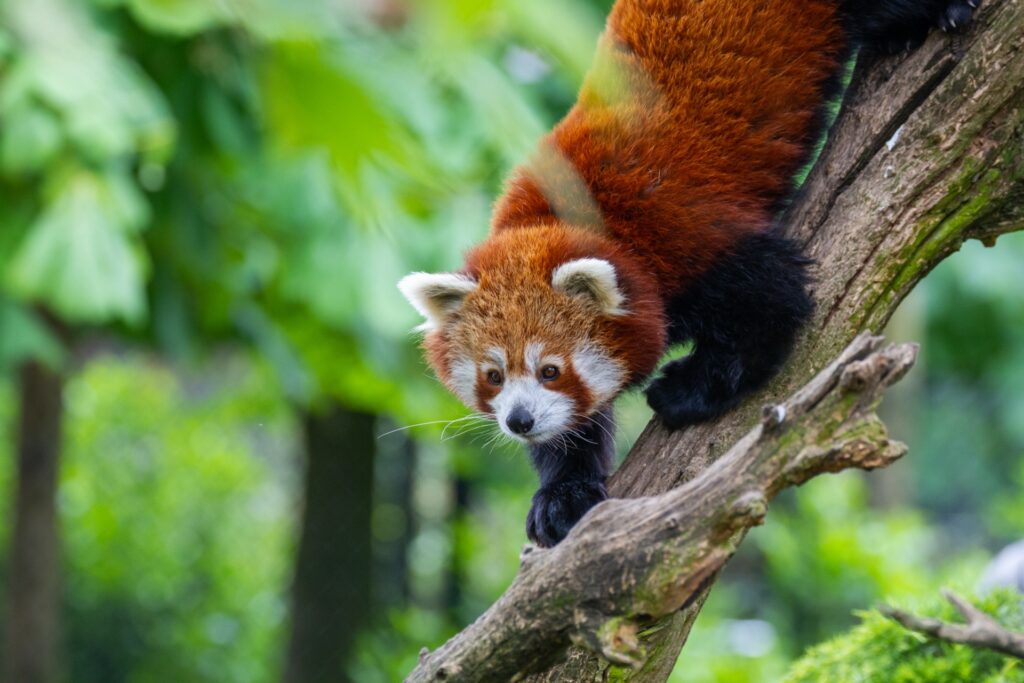
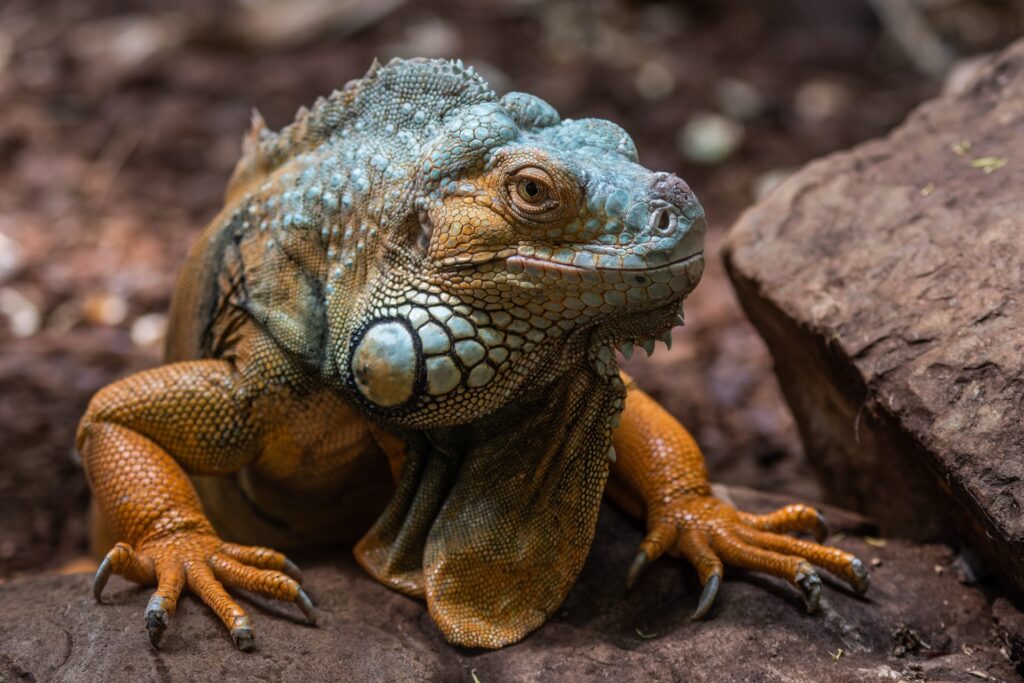
Tip 4: Get at the level of the Animal
One of the most powerful ways to connect with animal subjects is to photograph them at eye level. This perspective draws viewers into the animal’s world, creating a sense of intimacy and empathy that’s hard to achieve from above or afar. Whether it means lying on the ground to meet a squirrel’s gaze or crouching by a pond to see eye-to-eye with a frog, this angle tells a more personal and engaging story.
But don’t stop there once you’ve captured that classic eye-level shot, think outside the box. Try shooting from unexpected angles: directly overhead, from below, through foliage, or even incorporating reflections in water or glass. These creative perspectives can reveal surprising beauty and character, transforming an ordinary scene into something striking and original.

Tip 5: Choose the right Shutter speed
In zoo photography, choosing the right shutter speed can make or break your shot. For active animals like birds in flight, monkeys swinging, or big cats on the move use a fast shutter speed (1/1000s or faster) to freeze the action and avoid motion blur. With higher shutter speeds check the results and if you lens has Image Stabilization (IS) it can be useful and better for the results if you turn IS off.
For calm or resting animals, you can use slower speeds (1/250s or even slower if the animal is very still), especially in lower light. Just make sure your hands are steady or use a monopod to avoid camera shake. But it can be good to also keep in mind your zoom level and the millimeters used. The rule use a little faster speed then the millimeters used. So when zoomed at 200mm use 1/200s or quicker. There can be factors where the rule doesn’t apply, Image Stabilization or steady hands. So when you are not sure play around with it and regularly check your results.
Bonus Tip: If you’re shooting through glass or wire, a faster shutter speed can also help reduce reflections and blurring caused by camera movement.
Pro Tip: Use shutter priority mode or manual mode to take control, and keep an eye on your ISO to maintain proper exposure without introducing too much noise.
Some Extra tips
You can spend days with talking about Zoo photography. Next to the above 5 tips here some extra tips you can use in the Zoo. You can also check my Zoo category with some blog posts about the Zoo’s I visited. In my Animals Portfolio I have more examples of some beautiful Animal portraits and more.
📸 Leave your flash at home
In short, just don’t use your flash when in a Zoo. The most important reason is it can bother animals and it is also not encouraged in many zoos. In al lot of zoos it’s also in many cases actively discouraged to use your flash.
But more than that, flash photographs simply aren’t necessarily better quality. They tend to highlight reflections while removing shadows, which can make your image look flat. When shooting through glass it can give you a large reflection of the flash light causing an even flatter image. If it’s a fence it can highlight the fence more in your picture. For me personally I never have a flash with me to the Zoo.
🌿 Don’t Forget the Surroundings
The environment tells part of the story. Look for natural backdrops, interesting lighting, or moments when the animal interacts with its surroundings. Including thoughtful context can make your image more immersive and meaningful.
⏳ Be Patient
The best moments don’t happen on cue. Spend time observing your subject patience often rewards you with more authentic expressions, behaviors, and unique interactions.
📜 Respect the Rules
Always follow your zoo’s photography guidelines. Some may restrict flash, specific equipment, or access to certain areas. Respecting these rules helps protect the animals and ensures a positive experience for everyone.